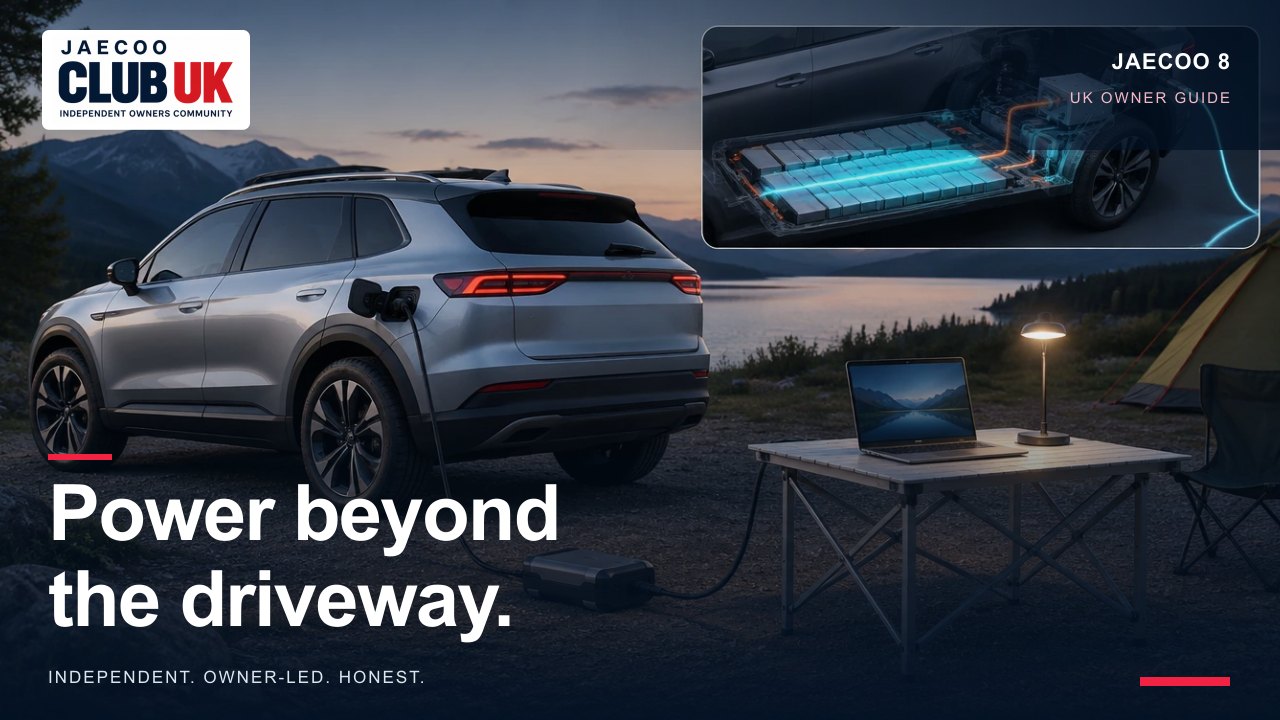
The J8 handbook marks external discharging “if equipped” and specifies a separately purchased device. Its 6.6 kW vehicle ceiling is higher than the J7’s, but the connected adaptor and sockets may allow much less.
Supported models and trims
JAECOO 8 SHS-P: Luxury / Executive, subject to the seat and equipment qualifications below
UK manual review; not a hands-on vehicle test. A missing menu may reflect equipment or software; this guide does not promise a feature can be enabled.
Before you begin
Park safely before changing settings. Match the powertrain, equipment and screen layout to the handbook for your own car. A manual describes possible equipment; it is not confirmation that every UK trim has it.
Step-by-step instructions
- Park safely outdoors, select P and apply the parking brake. Confirm sufficient battery and fuel and inspect the dry port and discharge equipment.
- In READY, open the New Energy setting screen, then Charging/discharging management. Turn External Discharge ON and keep the vehicle disarmed/unlocked for connection.
- Press the centre-rear of the charge-port cover. Remove the AC-port and connector dust covers.
- Insert the compatible discharge connector into the AC port until securely seated with the described click.
- Press the power-strip switch. The documented device’s steady red lamp indicates successful connection; the car displays discharge information. Do not confuse this with a red fault light at the vehicle’s charge port.
- Connect/use suitable appliances within all equipment ratings. Monitor discharge and allow for the engine starting if battery charge is low while the vehicle is powered on.
- Disconnect the appliances when finished. With the vehicle in READY, turn External Discharge OFF in Charging/discharging management.
- Hold the connector’s upper release button and unplug it. Refit the covers, close the charge-port flap and store the device dry before driving.
How much can it power?
The supplied manual states a vehicle discharge ceiling of 6.6 kW. Your usable limit is the lowest applicable rating of the vehicle, adaptor, individual outlet, cable and appliance connection. The vehicle figure is not a promise that a single UK socket can deliver it. Add the loads of every connected appliance and account for starting surges. Use the ratings on your actual equipment; this guide does not promise that a particular kettle, heater or tool is suitable.
Understand the vehicle’s charge-port light
| Vehicle port light | Meaning in the J8 manual |
|---|---|
| Steady white | Port open in dim conditions; no discharge connector inserted. |
| Steady blue | Waiting for discharge. |
| Flashing blue | Discharging. |
| Steady red | Fault. This is different from the adaptor’s red ready lamp. |
Allow for engine operation
The handbook says the engine automatically charges the battery if it becomes low during discharge with vehicle power ON. Use an open-air location where exhaust cannot enter an occupied space. The manual does not state one universal battery cutoff percentage for all use.
Troubleshooting
- No output: check equipment compatibility, charge level, the on-screen discharge setting, secure connection and the adaptor’s own switch. DC charging and external discharge cannot be used together.
- Output stops under load: switch off appliances and check their combined running and start-up demands against every applicable rating. Do not repeatedly reset an overloaded adaptor.
- Plug will not release: disconnect the appliances, turn discharge OFF and follow the adaptor’s normal release instructions. Do not pull on the cable or use the charging emergency release as an improvised first step.
- Cooling continues afterwards: the manuals describe automatic fan/compressor operation for battery cooling. A smell, smoke or fault indication is a different matter and needs attention.
Safety and limitations
- Use a correctly specified, manufacturer-approved discharge adaptor and compatible appliances. Inspect the port, plug, cable and power strip first; do not use damaged, corroded, wet or loose equipment.
- Use dry hands in a safe, dry location away from heat, fire, hazardous chemicals and lightning. Keep children away from the equipment.
- Keep appliances out of the boot, away from tyres and away from underneath the front of the car. Protect the cable from crushing, pulling and trip hazards.
- Do not touch electrical contacts, modify connectors, improvise wiring or connect the output to household wiring. These instructions cover standalone appliances.
- Disconnect appliances and switch discharge OFF before removing the adaptor. Never force a locked connector; seek help if the normal release will not operate.
- Stop using the system if you notice unusual heat, smell, smoke or a fault. Do not dismantle equipment; contact the retailer.
Related controls and next steps
SOURCES & REVIEW
Check the original information.
- JAECOO UK JAECOO 8 model page; current UK trim names checked 8 October 2026. Trim naming is not a guarantee of every handbook feature. ↗
- JAECOO 8 SHS-P UK owner manual, issued December 2025; External Discharging Function and Method; printed pp. 239, 240, 241, 242, 243 (PDF pages 253, 254, 255, 256, 257). Supplied file: Jaecoo 8 Manual.pdf. ↗
Prepared by JAECOO Club UK. Source information checked on 8 October 2026. Club checklists and examples are editorial suggestions; follow the handbook and terms that apply to your own vehicle. We are independent of OMODA & JAECOO.