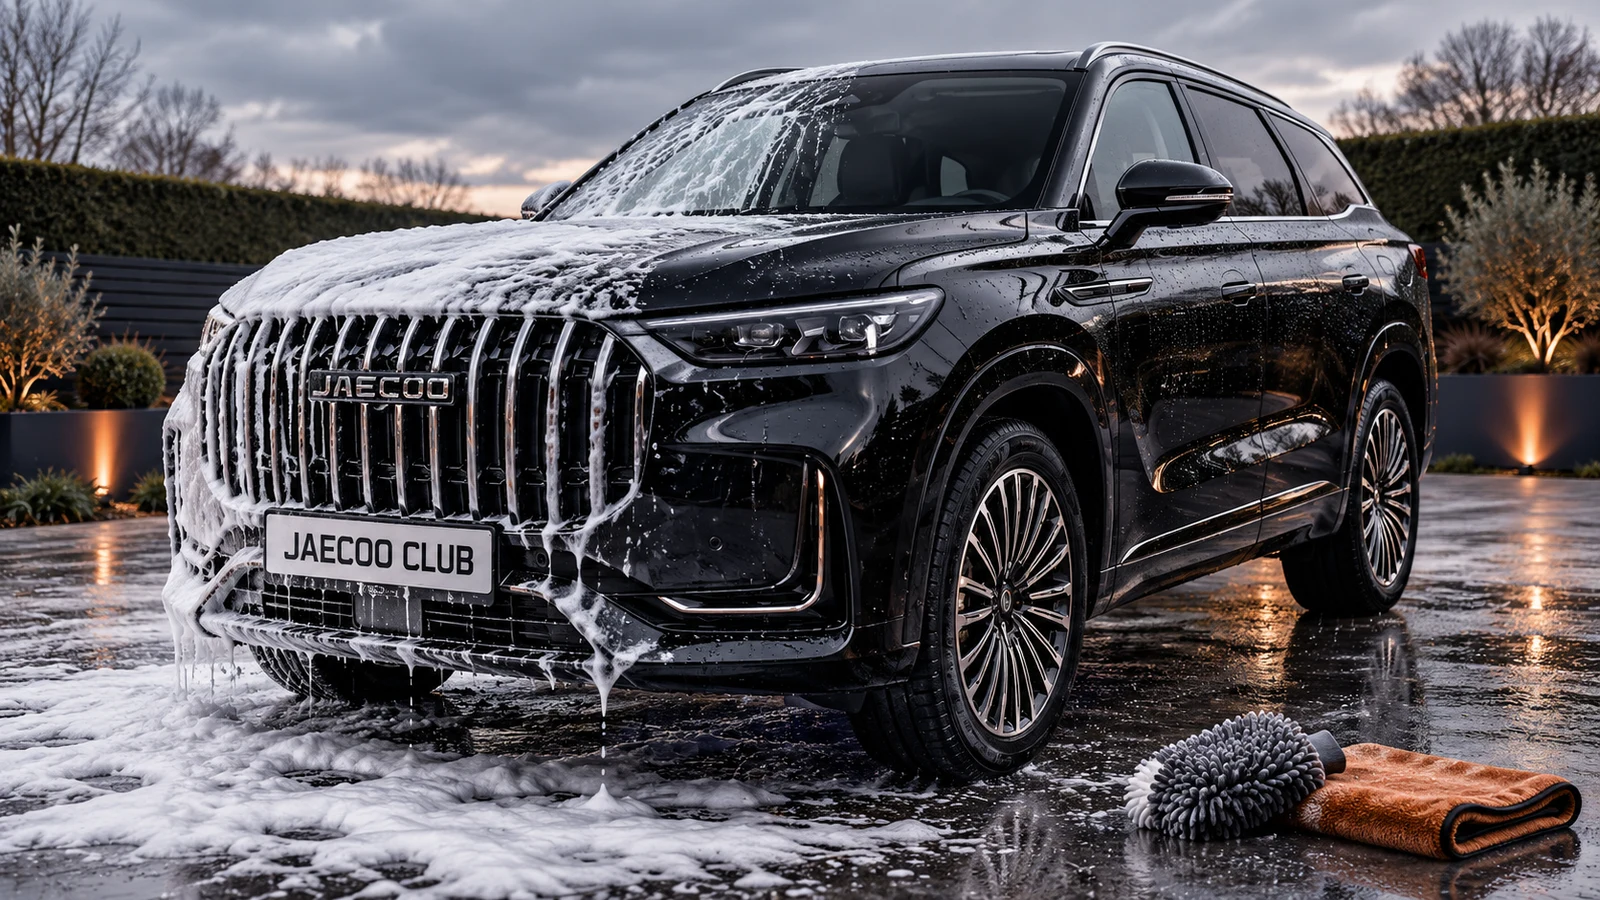
Wondering how to wash a JAECOO 5, 7 or 8 without turning a satisfying job into a chemistry exam? This illustrated UK guide covers gentle exterior washing, paint care, drying and interior cleaning. The first-hand routine and recommended car cleaning products come from the founder’s black JAECOO 8; they are not separate product tests on every model. J5, electric E5 and J7 owners can use the general care principles, while following the handbook for their own powertrain, equipment and surfaces.
Your wash, at a glance
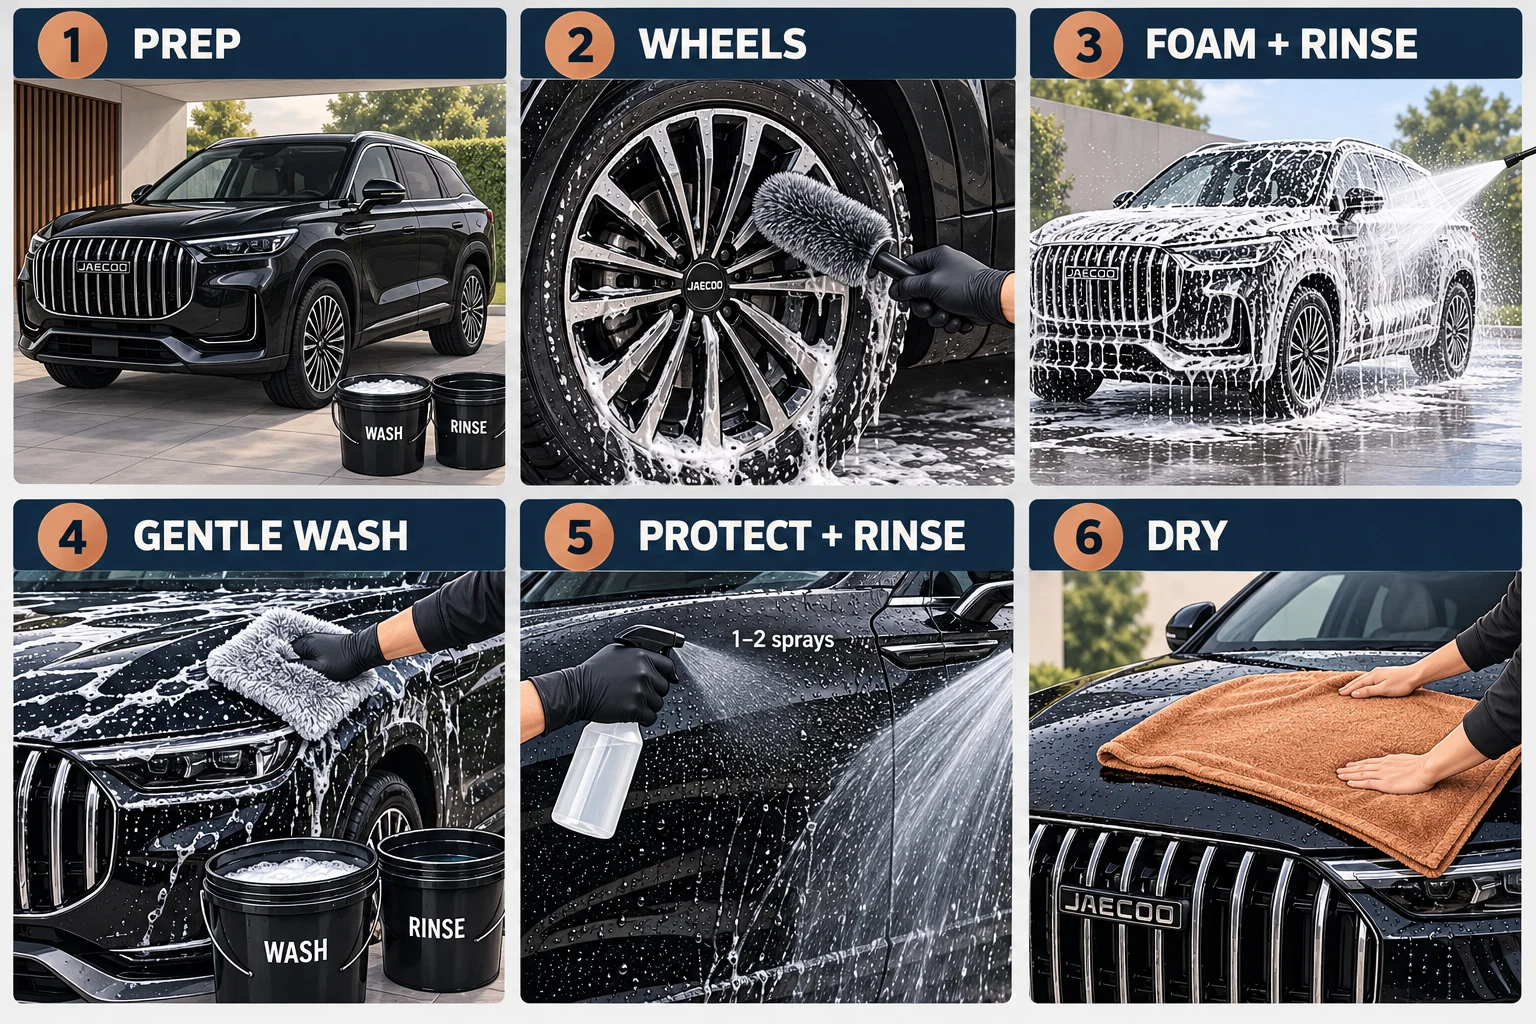
The founder’s routine is straightforward: get the loose dirt off, wash gently, rinse, add protection when needed, then dry. Snow foam is the supporting act; the careful contact wash still does the cleaning.
- 01 / PrepareCool panels, shade, clean tools.
- 02 / WheelsDedicated tools, never the paint mitt.
- 03 / Pre-washW4 foam, dwell, thorough rinse.
- 04 / Hand washGWash, two buckets, gentle mitt.
- 05 / ProtectWetCoat when needed; rinse immediately.
- 06 / DrySilkDryer EVO, light contact.
The founder reported wipers catching after using WetCoat. This version of the routine keeps it off the front windscreen and cleans the glass and blades separately. That is an owner precaution, not a claim that GYEON prohibits all glass use.
Washing a JAECOO 5, 7 or 8: what changes?
The gentle wash sequence stays much the same, but the details belong to your actual car. JAECOO 5 and electric E5 owners should check their roof equipment and surface finishes. JAECOO 7 owners need the handbook for their petrol or hybrid version. JAECOO 8 owners should pay particular attention to safe roof access and charging-port precautions.
Before using a pressure washer or automatic car wash, check the instructions for your finish, wipers, mirrors and charging covers where fitted. An operating sequence shown for another model may not apply to yours. Find the right JAECOO handbook before following model-specific instructions.
Before you start: cool paint and clean tools
Work out of direct sun on cool panels. If the bonnet is hot, wait or move to shade. Black paint makes every speck visible, but a rushed hot-panel wash can leave you with more spotting than satisfaction.
- Park securely, switch the car off, close windows and the sunroof, and disconnect any charging cable before washing. Follow your car’s own handbook for preparation and pressure-washer restrictions.
- Prepare a shampoo bucket and a separate clean-water rinse bucket, a paintwork mitt, dedicated wheel tools, a drying towel and clean glass/interior cloths.
- Inspect every cloth and mitt for grit. A dropped mitt goes out of service until thoroughly cleaned.
- Use a broad spray and the distance specified in your handbook and washer instructions. Do not concentrate the jet on seals, cameras, sensors, trim edges or the charging socket; keep charging ports closed.
- Read each product label, including protective-equipment instructions. Do not mix different chemicals in the same bottle.
This is an exterior and cabin care guide. It does not cover engine-bay washing, underbody jets or opening electrical covers.
One bucket, two useful jobs
The founder chose the Gtechniq 20-litre bucket with lid and found it perfect for keeping the cleaning gear together between washes. It earns its space twice: a wash bucket on cleaning day, then a tidy home for the kit afterwards. No more hunting around for the shampoo while the car drips on the drive.
After the wash, empty, rinse and dry it. Clean your mitt and cloths and let them dry fully before storing them; closing damp microfibre inside a bucket is a recipe for an unpleasant surprise next time. Keep wheel tools separate from paintwork cloths, and store bottles upright with their caps shut, following their storage instructions. For the two-bucket wash, you still need a separate rinse bucket.
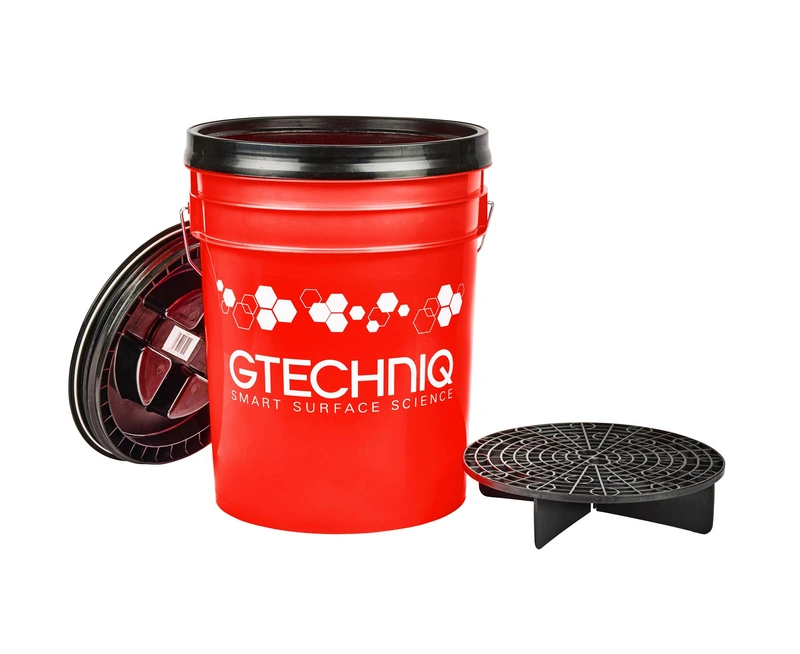
The founder’s choice for washing and keeping the cleaning kit together between washes. Empty, rinse and dry the bucket first; store clean, fully dry cloths and mitts separately from wheel tools, with bottles upright and securely closed.
View on Amazon ↗Genuine product photograph: Gtechniq. Manufacturer packaging shown; bottle versions and sizes may differ. Amazon links identify the purchased size.Wheels first, with their own tools
Let the wheels cool. Rinse away loose dirt, then use a dedicated soft wheel brush with a cleaner appropriate to the exact wheel finish. For a routine clean, suitable car shampoo may be enough; follow the product and wheel-care instructions rather than assuming every cleaner suits every alloy.
Work one wheel at a time, rinse the brush regularly, and rinse the wheel thoroughly before cleaner dries. Keep wheel brushes, wheel cloths and their dirty water away from the paintwork mitt. Brake dust is a very poor ingredient in your bonnet wash.
The founder’s current tool is the Amazon Basics microfibre wheel brush. Keep the brush for wheels only and rinse it frequently.
Pre-wash: foam, let it work, then rinse
Use your Gtechniq W4 through an appropriate foam lance following the label. Apply to cool surfaces, give it the specified dwell time and rinse thoroughly. Do not let foam dry. Do not chase the thickest possible foam by guessing a stronger mixture: your lance, bottle version and water supply affect how it behaves.
If there is heavy loose mud, remove it carefully first using the vehicle handbook’s washing instructions. The purpose of the pre-wash is to remove as much dirt as possible before any fabric touches the paint.
Gtechniq’s current UK W4 v2 instructions differ from some older or overseas directions. Check your own bottle rather than applying an internet dilution or timer to every version.
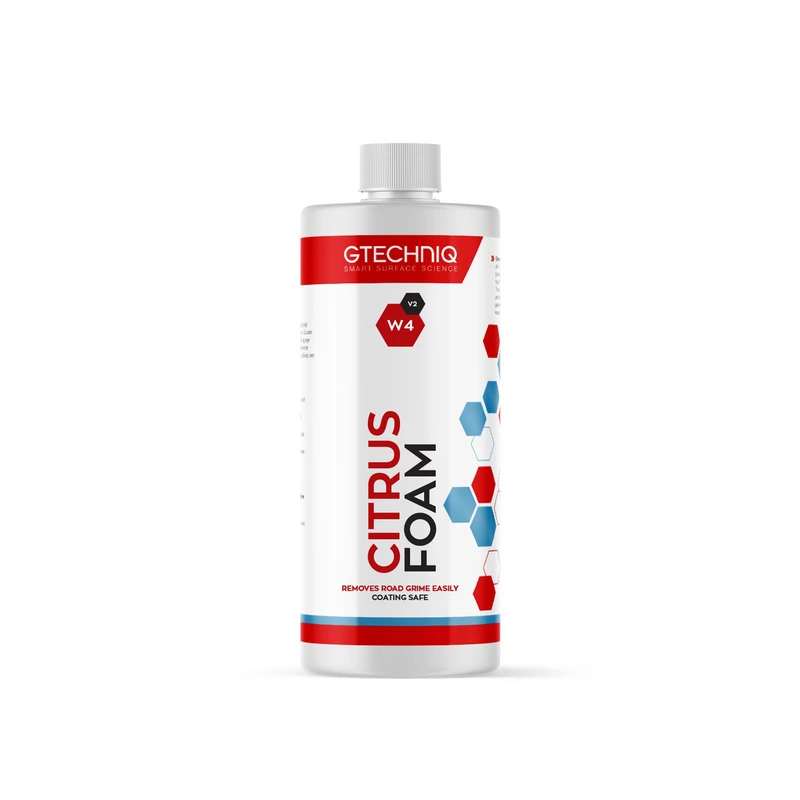
Loosens road dirt before the mitt touches the paint. Follow the dilution and dwell time on your exact bottle.
View on Amazon ↗Genuine product photograph: Gtechniq. Manufacturer packaging shown; bottle versions and sizes may differ. Amazon links identify the purchased size.Contact wash: gentle, clean and from the top down
Measure GWash into the shampoo bucket according to the bottle. Fill the other bucket with clean rinse water. Start at the roof, then upper panels, leaving the dirtier lower doors and sills until last.
Move a clean, well-lubricated mitt gently over a small area. Rinse it in the clean-water bucket before loading fresh shampoo. Replace dirty rinse water as needed. Pressing harder is not the shortcut: if something will not wash off, identify it and treat it separately.
For the roof and panoramic glass, reach safely from firm, level ground using a suitable stable platform or a clean, soft car-washing tool. Keep hard tool edges away from paint and glass. Do not climb on tyres, door sills or seat edges, and do not lean a gritty coat against the bodywork.
Rinse away the shampoo thoroughly. Keep panels from drying while you work, and split the wash into smaller areas if conditions are changing.
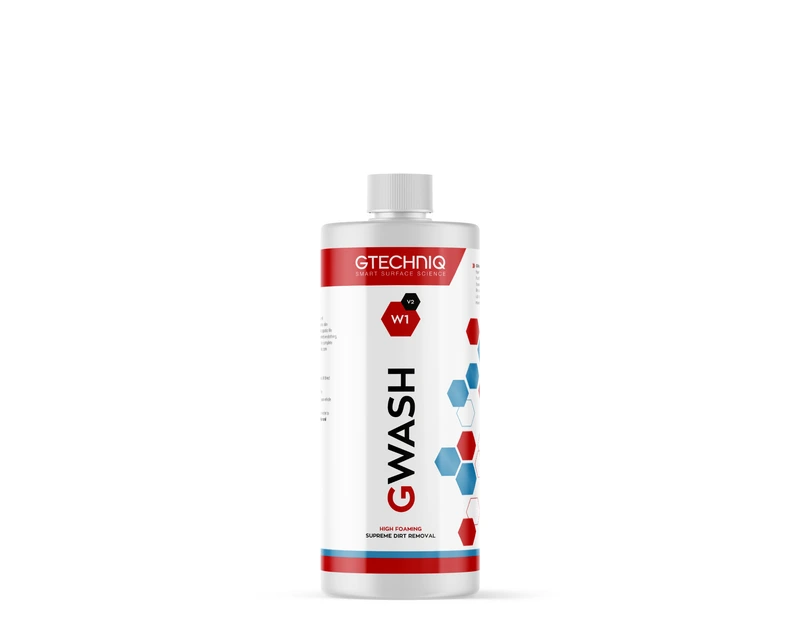
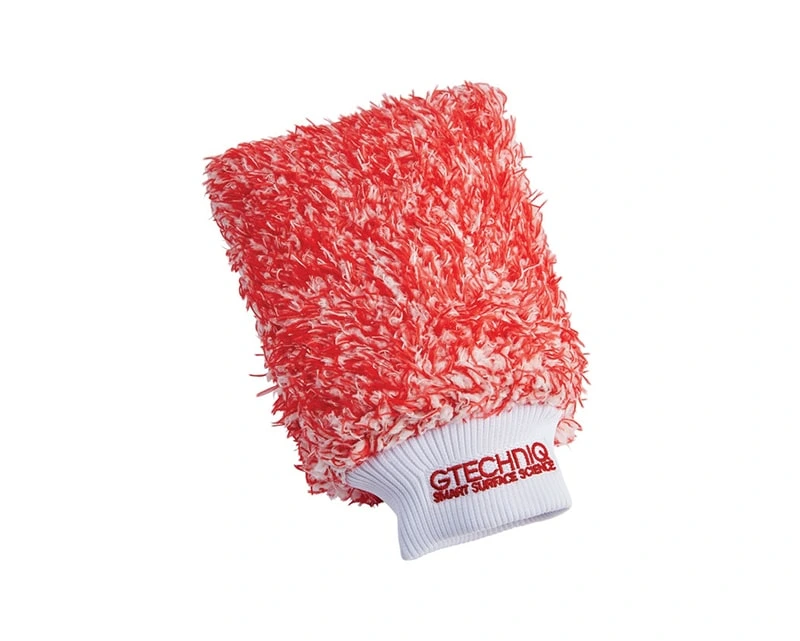
The shampoo in the wash bucket. Measure it using your bottle’s directions; stronger is not automatically better.
View on Amazon ↗Genuine product photograph: Gtechniq. Manufacturer packaging shown; bottle versions and sizes may differ. Amazon links identify the purchased size.WetCoat: optional protection, then an immediate rinse
Use WetCoat after washing and rinsing, while the car is still wet. GYEON’s method is one panel at a time: apply 1–2 sprays, rinse immediately with strong water pressure, and never allow it to dry on the surface. Keep the jet within the restrictions in your vehicle’s handbook.
Do not spray the whole car and then wander off to find the hose. Have the water ready. Use cool panels in shade. WetCoat is a maintenance sealant; it does not make paint scratch-proof or keep dust from landing.
In this founder’s routine, skip the front windscreen following the reported wiper-catching experience. GYEON says the product is glass-safe generally; this is our practical choice for this car. Keep the blades clean using the handbook’s method and have persistent judder or poor wiping checked.
WetCoat is an optional step when protection needs refreshing, not another compulsory purchase or something to add automatically every wash. If you skip it, rinse the shampoo off and go straight to drying.
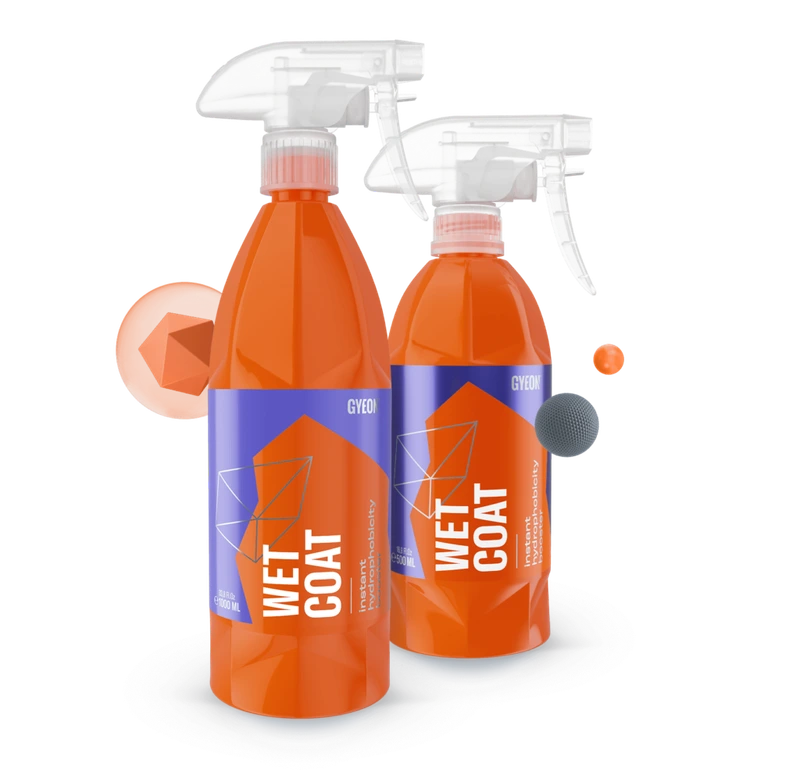
Spray onto clean, wet panels and rinse immediately. This routine keeps it off the front windscreen after the founder’s wiper-catching experience.
View on Amazon ↗Genuine product photograph: GYEON. Manufacturer packaging shown; bottle versions and sizes may differ. Amazon links identify the purchased size.Dry properly: absorb the water, do not scrub
Use the clean SilkDryer EVO once the wash and any WetCoat rinse are complete. Lay it flat, gently pull or pat it to absorb the water, and avoid adding pressure. Work from the top down. Use a separate cloth for wheel areas and grubby door shuts.
Deal with remaining drips using a clean towel, rather than letting mineral-rich water bake onto the paint. If you discover a patch that was not cleaned properly, wash it again; a drying towel is not a dirt-removal tool.
Wash the towel after use following its care instructions and keep it away from fabric softener, oily products and gritty wheel cloths. The towel you carefully chose deserves a slightly better retirement plan than being thrown wet into the boot.
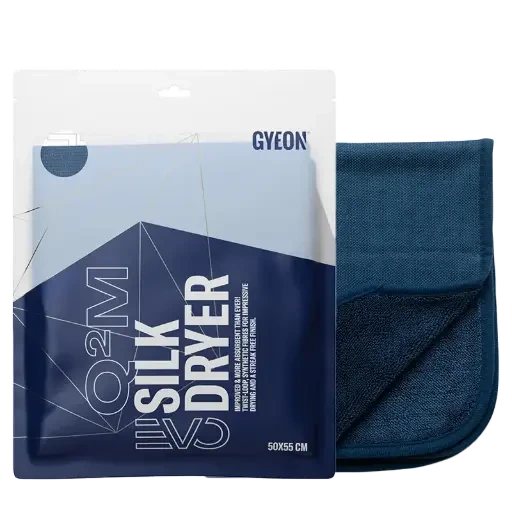
The large drying towel in the founder’s kit. Lay it on the panel and absorb water gently, without pressing or scrubbing.
View on Amazon ↗Genuine product photograph: GYEON Belgium. Manufacturer packaging shown; bottle versions and sizes may differ. Amazon links identify the purchased size.Glass, wipers and the panoramic roof
Once dirt has been washed off, apply G6 Perfect Glass to the dedicated glass cloth, working out of direct sunlight. Wipe the glass, then remove residue with another clean cloth. Be especially careful to keep interior overspray away from screens, controls and upholstery.
Wash roof glass gently as part of the main wash; do not open the sunroof to pressure-wash its seals or drainage channels. Follow the handbook for cleaning those areas. A product being glass-safe does not mean it belongs on every camera lens, screen coating or tinted film.
If wipers catch, start by checking the glass and blades for contamination and follow the vehicle instructions for cleaning them. Do not assume a glass polish or solvent is suitable for a coated windscreen; persistent poor wiping needs attention.
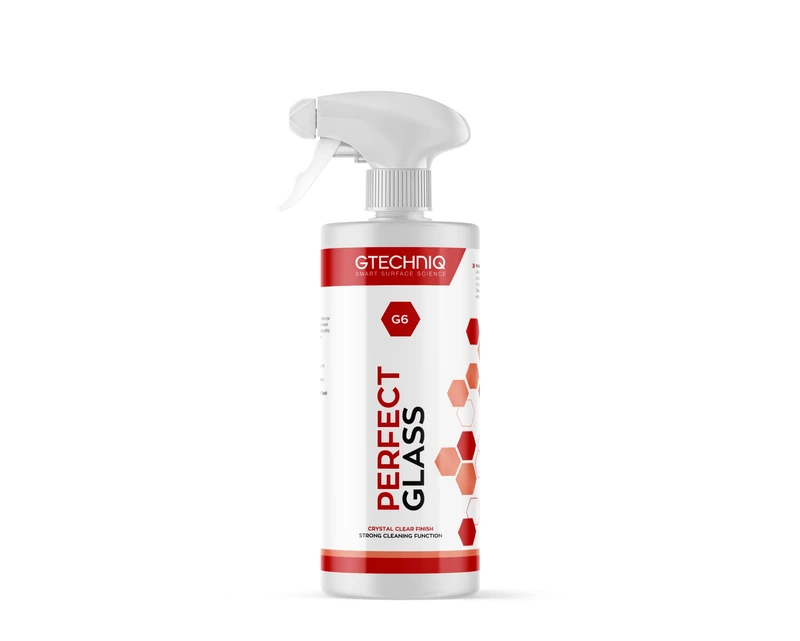
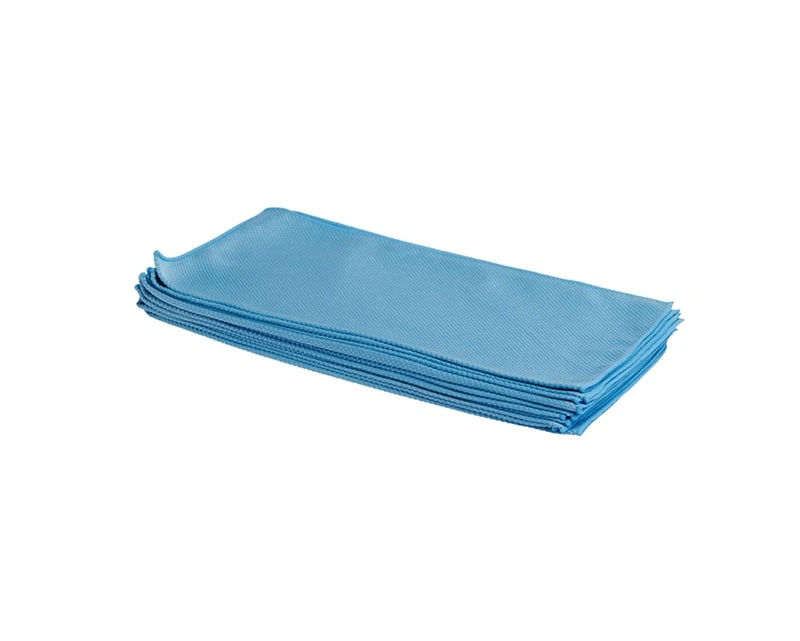
Dedicated glass cleaner used with a clean glass cloth. Keep paintwork and glass cloths separate.
View on Amazon ↗Genuine product photograph: Gtechniq. Manufacturer packaging shown; bottle versions and sizes may differ. Amazon links identify the purchased size.Interior care: piano black needs a light touch
Vacuum loose debris first. For suitable cabin surfaces, test I2 Tri-Clean in an inconspicuous place, apply it to a damp clean cloth, gently wipe, then use another clean cloth to remove residue. Do not spray cleaner into buttons, ports, speaker grilles or display edges.
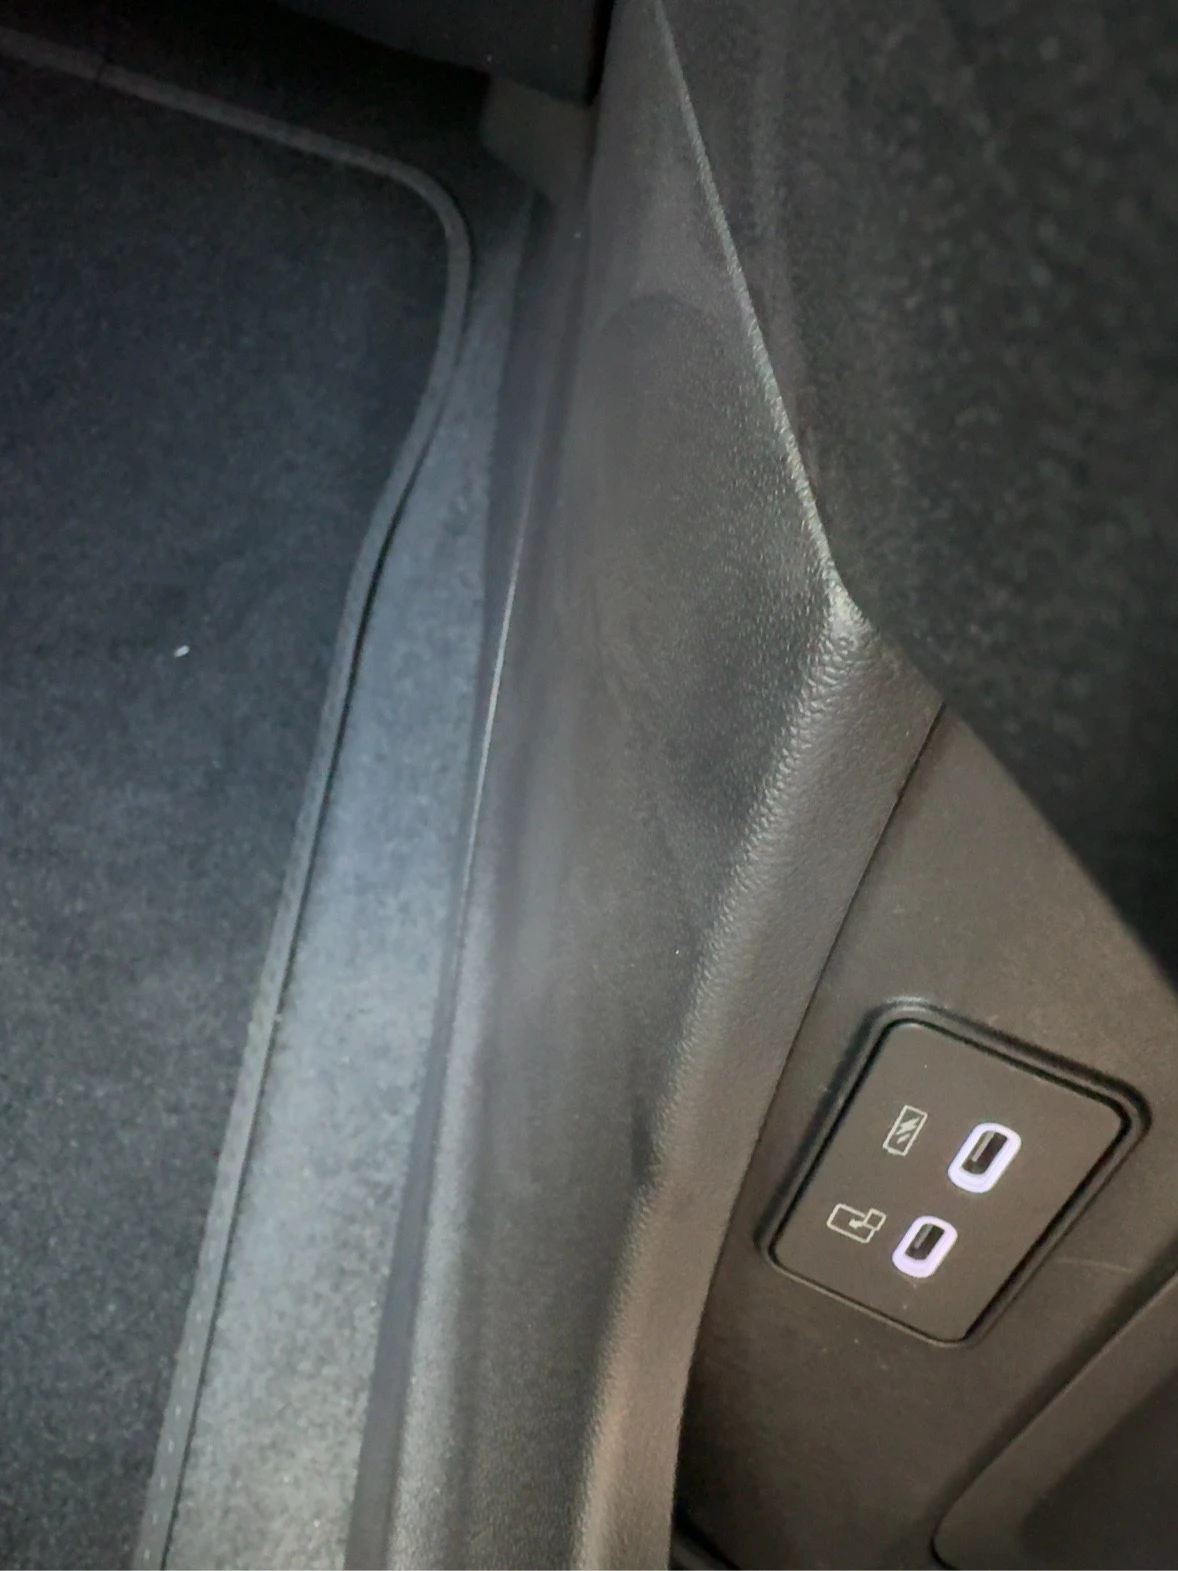
Glossy piano-black trim deserves its own very soft, clean cloth. Lift loose dust first and avoid rubbing dusty plastic dry. Use minimal pressure and a surface-appropriate cleaner; no abrasive pads or household polish. Follow the handbook for screens, using the recommended method rather than assuming an interior cleaner is screen-safe.
Interior protection film is an option to discuss with an installer if scratches particularly worry you. A cleaner, dressing or ceramic sealant cannot promise scratch-free trim.
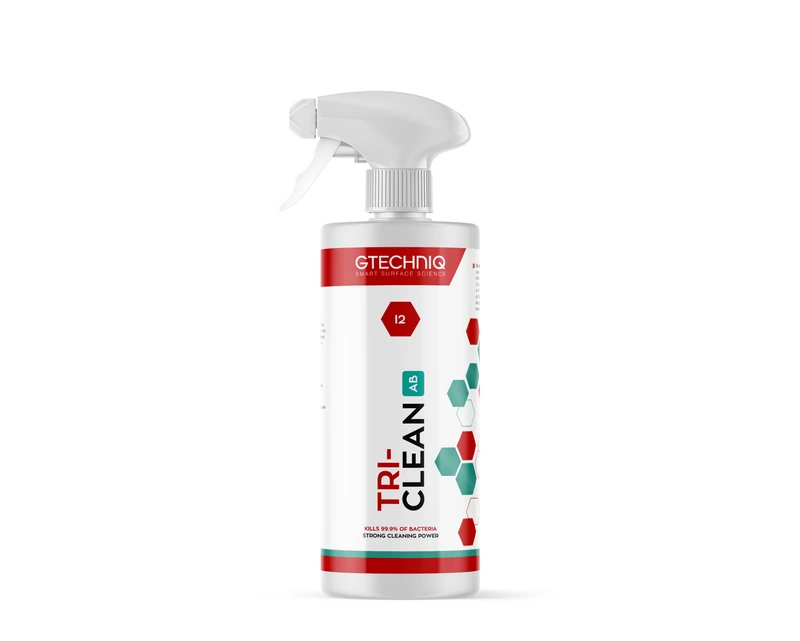
Interior cleaner applied to a cloth, rather than sprayed over switches and screens. Test the surface first.
View on Amazon ↗Genuine product photograph: Gtechniq. Manufacturer packaging shown; bottle versions and sizes may differ. Amazon links identify the purchased size.Between washes: bird mess, sap and stubborn dirt
Remove bird droppings promptly. Soften the deposit using water or an appropriate dedicated product, then gently lift it with a clean soft cloth and rinse as appropriate. Do not scrape or scrub dried deposits across the surface. Work carefully on paint and check product compatibility with glass, film and trim.
Tree sap, tar and metal fallout are different contaminants. If a normal wash leaves something bonded to the paint, choose a compatible treatment for that contaminant and follow its label. Do not keep rubbing or add every bottle in the cupboard.
Clay bars, machine polishing and DIY ceramic coatings are outside this simple maintenance routine. Start with the gentle wash before considering specialist treatments.
Use a wash interval that suits your mileage, parking and dirt: roughly every one or two weeks can be a useful starting point, with prompt attention to droppings and contamination between washes. Avoid dry-dusting the paint just to restore that freshly washed look.
The founder’s used-and-approved kit
These are products from the founder’s own J8 care kit, used and approved for inclusion. The descriptions explain what each product does in the routine. Equivalent suitable products can also do the job.
As an Amazon Associate I earn from qualifying purchases. The Amazon product links in this guide are affiliate links. You can follow this method with suitable products you already own; buying this kit is optional.
Gtechniq bucket with lid · 20 litres
The founder’s choice for washing and keeping the cleaning kit together between washes. Empty, rinse and dry the bucket first; store clean, fully dry cloths and mitts separately from wheel tools, with bottles upright and securely closed.
Used and recommended by the club founderView on Amazon ↗Gtechniq W4 snow foam · 1 litre
Loosens road dirt before the mitt touches the paint. Follow the dilution and dwell time on your exact bottle.
Used and recommended by the club founderView on Amazon ↗Gtechniq GWash shampoo · 250 ml
The shampoo in the wash bucket. Measure it using your bottle’s directions; stronger is not automatically better.
Used and recommended by the club founderView on Amazon ↗Gtechniq microfibre wash mitt
A dedicated paintwork mitt. Keep it separate from wheel-cleaning tools and rinse it frequently.
Used and recommended by the club founderView on Amazon ↗GYEON Q²M WetCoat · 500 ml
Spray onto clean, wet panels and rinse immediately. This routine keeps it off the front windscreen after the founder’s wiper-catching experience.
Used and recommended by the club founderView on Amazon ↗GYEON SilkDryer EVO · 70 × 90 cm
The large drying towel in the founder’s kit. Lay it on the panel and absorb water gently, without pressing or scrubbing.
Used and recommended by the club founderView on Amazon ↗Gtechniq I2 Tri-Clean · 500 ml
Interior cleaner applied to a cloth, rather than sprayed over switches and screens. Test the surface first.
Used and recommended by the club founderView on Amazon ↗Gtechniq G6 Perfect Glass · 500 ml
Dedicated glass cleaner used with a clean glass cloth. Keep paintwork and glass cloths separate.
Used and recommended by the club founderView on Amazon ↗Gtechniq Power Glass Cloth · 40 × 40 cm
A separate glass cloth for cleaning and buffing, kept away from wheel dirt and oily dressing.
Used and recommended by the club founderView on Amazon ↗Amazon Basics microfibre wheel brush · 42 cm
The dedicated wheel brush in the founder’s kit. Rinse it as you work and never use it on the bodywork.
Used and recommended by the club founderView on Amazon ↗Links identify the products in the founder’s kit. Pack sizes, formulations, sellers and availability may change; check the listing and your bottle. We do not publish changing prices, Amazon review scores or guaranteed results.
JAECOO washing and cleaning FAQs
Can I pressure wash my JAECOO?
Use a pressure washer only within your own handbook’s restrictions. The UK J7 SHS-P and J8 SHS-P manuals warn against directing a high-pressure jet at wiper blades; the J8 also warns against jetting the charging-cover switch area. Keep the jet away from these areas and follow the washer’s instructions. We do not give one pressure or distance for every model.
Can a JAECOO go through an automatic car wash?
The UK J8 SHS-P handbook permits automatic washing but cautions that the equipment and chemicals can affect the paint. Its matte-paint instructions prohibit brush washes. That is not blanket approval for every J5, J7 or J8 finish. Check your own handbook and the operator’s requirements first; this guide’s routine uses gentle hand washing.
How do I dry my JAECOO after washing?
After a thorough rinse, use a clean, soft drying towel with light contact, working from the top down. The founder uses SilkDryer EVO. Do not scrub remaining dirt with the towel; wash that area again. Keep wheel and door-shut cloths separate from the paintwork towel.
How do I clean JAECOO piano-black interior trim?
Lift loose dust first, then use a very soft, clean cloth and a cleaner suitable for that surface, tested in a discreet spot. Apply cleaner to the cloth and use minimal pressure. Avoid dry rubbing, abrasive pads and spraying switches. Follow separate handbook instructions for displays.
What car cleaning kit do I need for a JAECOO?
Start with shampoo, a clean paintwork mitt, wash and rinse buckets, separate wheel tools, a drying towel and dedicated glass and interior cloths. Snow foam and spray protection are additional steps, not compulsory purchases. The used-and-approved kit below explains each product’s role.
How should I store my car cleaning gear between washes?
The founder recommends the Gtechniq 20-litre bucket with lid for keeping the kit together. Empty, rinse and dry it before storage. Let cleaned cloths and mitts dry fully, keep wheel tools separate and close bottles securely. Do not seal damp microfibre inside the bucket.
Your final check before driving
- Paint, glass and trim rinsed; no chemical left to dry.
- Clear visibility through the windscreen and mirrors; no greasy dressing on pedals or steering wheel.
- Windows, sunroof and charging-port covers closed; all wash tools clear of the car.
- Cloths separated for paint, wheels, glass and cabin, then cleaned according to their instructions.
- Any persistent wiper issue, damage or unusual warning addressed using the handbook and dealer advice.
Keep a simple note of the products and any result you would change next time. The best routine is one you can repeat carefully, without needing a garage full of bottles or a degree in foam.
SOURCES & REVIEW
Check the original information.
- Gtechniq UK: W4 Citrus Foam v2 — current instructions
- Gtechniq UK: GWash
- GYEON: WetCoat
- GYEON: SilkDryer EVO
- Gtechniq UK: I2 Tri-Clean
- Gtechniq UK: G6 Perfect Glass
- Gtechniq UK: illustrated wash method
- JAECOO UK J7 SHS-P handbook: wiper maintenance, printed page 248
- JAECOO UK J8 SHS-P handbook: wiper and paint care, printed pages 277–279; charging-cover precautions, Rescue Information page 9 (PDF page 325)
Prepared by JAECOO Club UK. Source information checked on 4 October 2026. Club checklists and examples are editorial suggestions; follow the handbook and terms that apply to your own vehicle. We are independent of OMODA & JAECOO.